Create your account and invite your team
Sign up, name your organization, choose a plan, and invite the people who'll handle claims. About four minutes.
This covers creating your account, naming your organization, choosing a plan, and inviting your team. Adding your team can wait until later.
Go to admin.warrantini.com and click Start free. Enter your work email, choose a password, and you're through.
The six-digit email code used elsewhere is a separate, customer-facing mechanism used in your warranty portal — it isn't part of setting up your own admin account.
Use an address you'll still have in a year, ideally tied to your own domain rather than a personal inbox. Your account email is where billing notices and security alerts go.
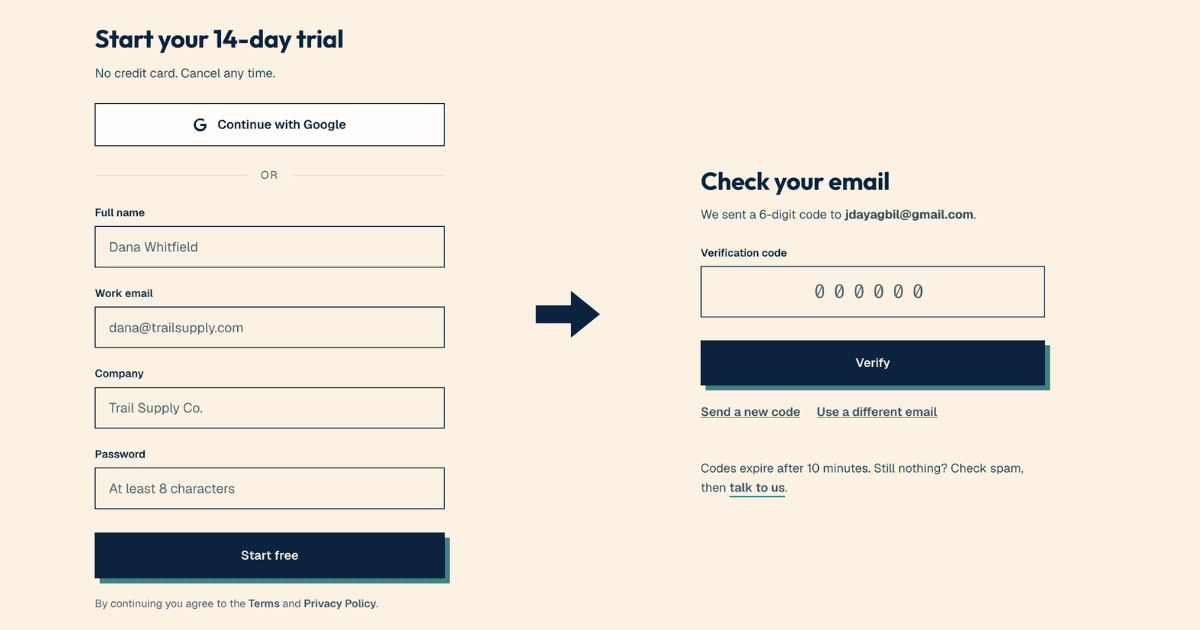
Your organization is your company inside warrantini. Products, rules, claims, and your team all live under it.
There's a single Company field for your organization's name. It's used internally and shown to your customers in your portal and in the emails they receive, so use your brand name as your customers would recognize it. "Northwood Gear," not "Northwood Gear Holdings LLC."
You can change this name later. Changing it after you've published your portal link means customers see the new name immediately. Check your email templates afterward in case the old name was written into any of them.
Every plan starts with a 14-day free trial and no credit card.
Plans differ in synced orders per month, admin users, and features included. If you're not sure, start lower — moving up mid-trial is a two-click change and nothing you've built is lost.
See our plans and what's in each one.
What counts as a registration? One unit of coverage for one customer. A customer who buys three items and registers all three creates three registrations. Registrations are unlimited on every plan — Starter, Growth, and Scale. Plan tiers govern other monthly volume limits, like syncing.
Plan and billing details live at Settings → General → Plan & Billing. This is where you see your current plan, trial status, and billing status.
- Starting a paid plan opens Stripe Checkout.
- Manage Subscription opens Stripe's Customer Portal, where you change plans, view invoices, and cancel.
The sidebar has a separate Billing item, but it isn't active yet — manage your plan from Settings → General instead.
This can be done now or later. If you're setting up alone, skip ahead — the owner seat is included and no one else is needed to finish setup.
Go to Team in the sidebar and click Invite Member. Enter an email address and pick a role.
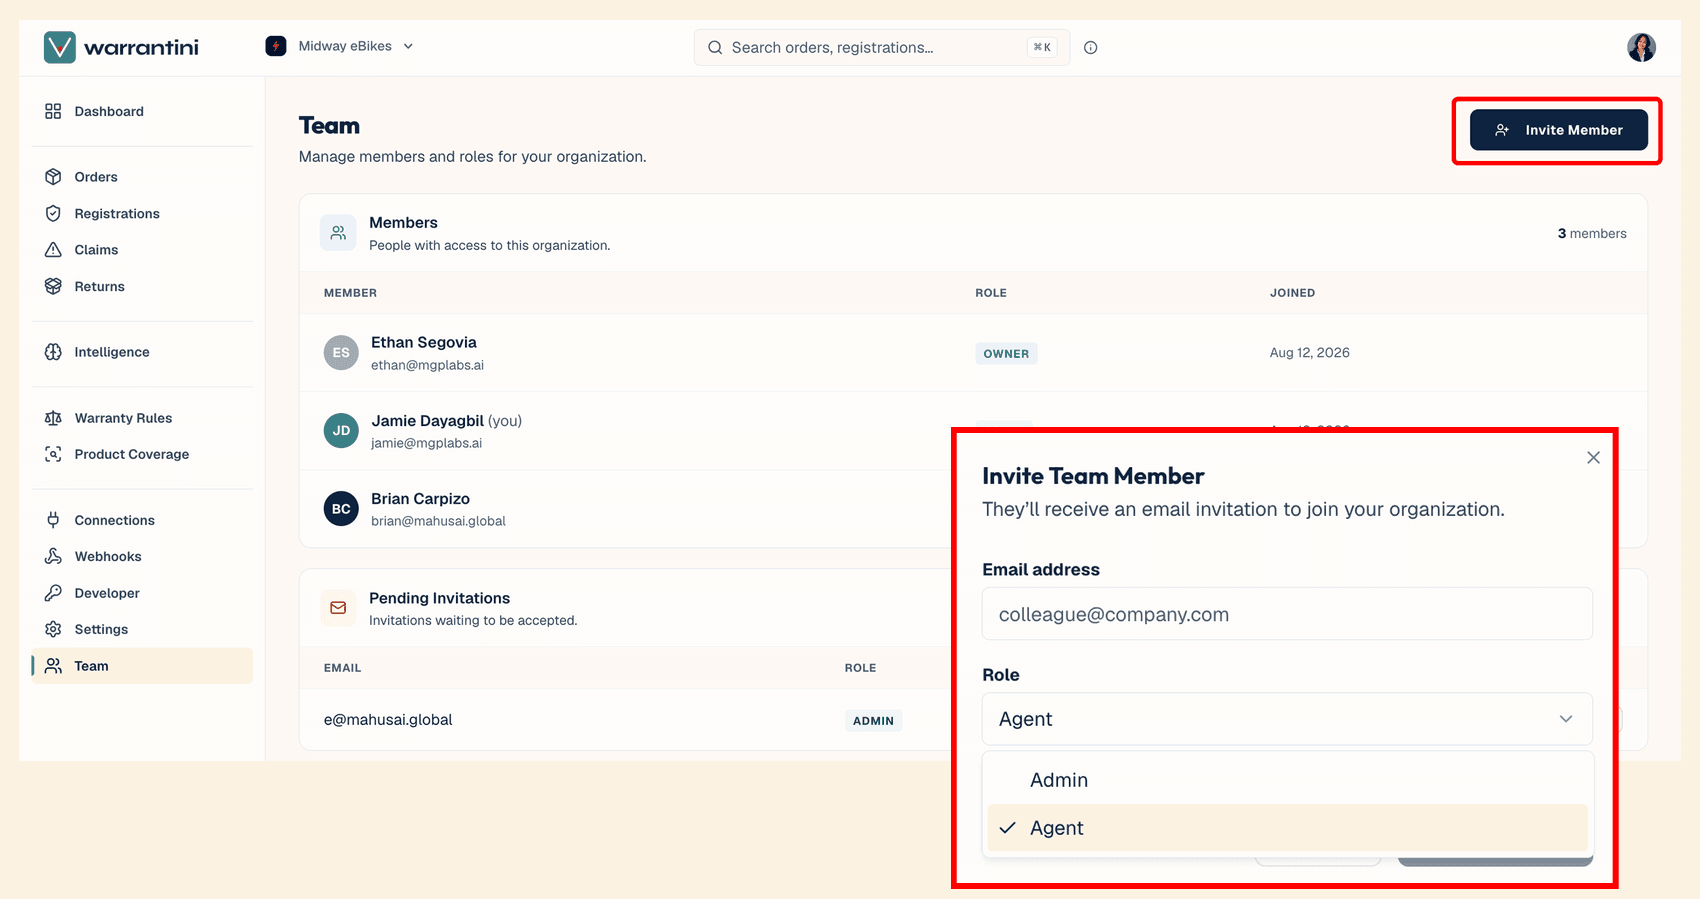
Roles are fixed, not composable, and rank in this order of authority:
- Owner — set when the account is created, not invited. Full authority over the organization.
- Admin — can be invited. Broad authority across the organization, just below owner.
- Agent — can be invited. Works claims and records decisions.
Only admin and agent roles can be invited. The owner seat is assigned automatically when the account is created.
Invited people get an email with a link. The invitation stays open until used, and can be revoked any time before then.
Who reviews what, and how escalation works, is separate from roles and comes later. For now, add the right people — Set up your claims workflow is where you decide who reviews what.