Do a test run
File a claim as if you were a customer and walk it all the way to a decision. Five minutes, and the only step you shouldn't skip.
Setup is complete. This confirms it works before a real customer does.
Takes about five minutes. It catches issues that are hard to spot from the settings screens — a coverage term that reads wrong to a customer, an email that says something unintended, a claim landing in a queue nobody's watching.
Do it once, then have whoever will actually handle claims do it too.
Test data can't be fully cleaned up afterward: a test registration can only be voided, never deleted, and a voided registration still counts in dashboard reporting totals, broken out separately but not excluded. Test claims have no void or archive option; once created, a claim stays.
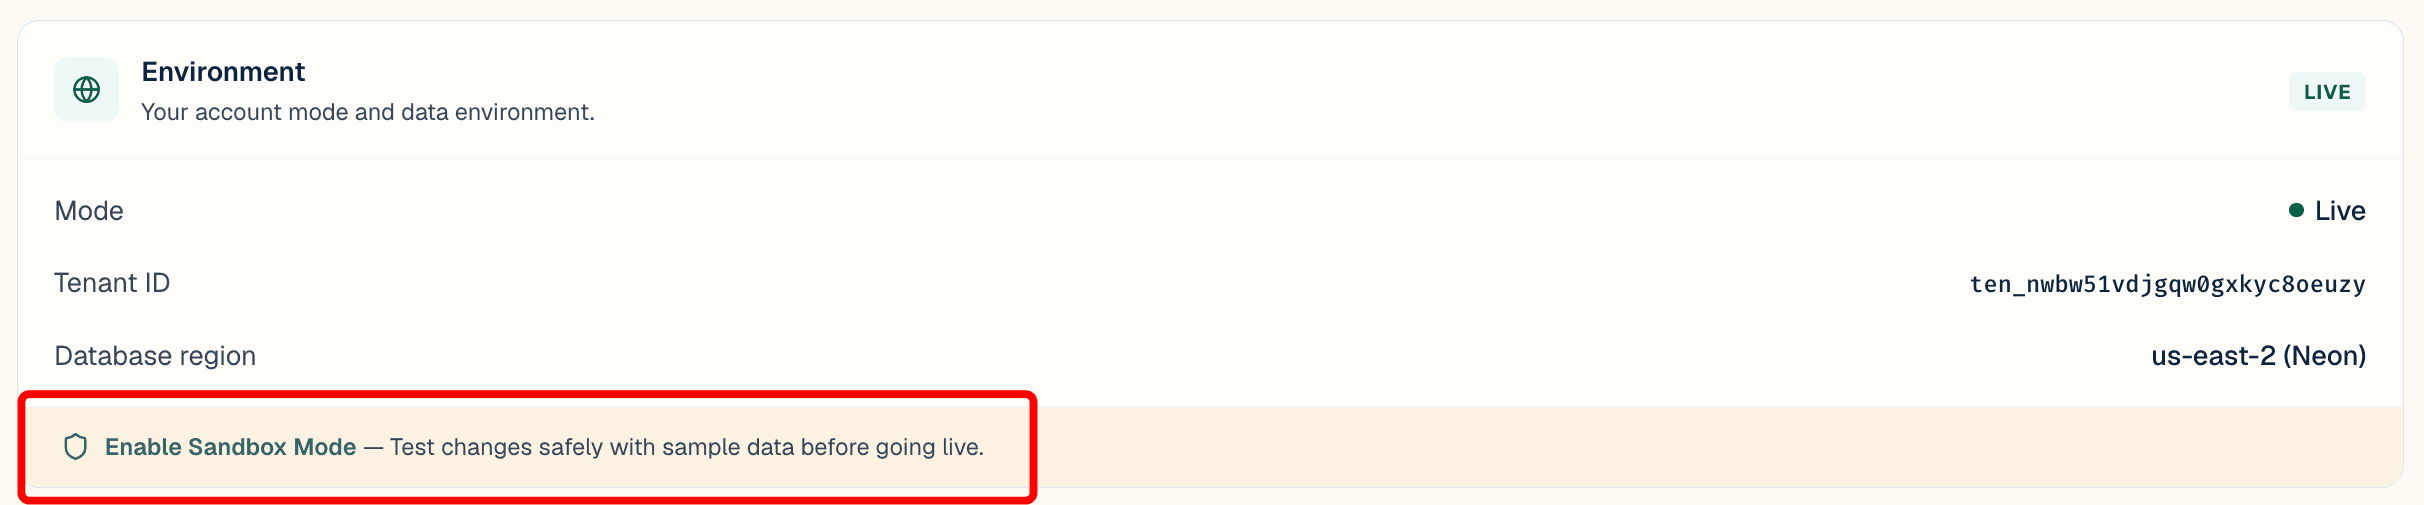
Because of that, switch into sandbox mode rather than testing on the live organization. Go to Settings → General tab → Environment and switch into sandbox mode. This forks a separate database branch for testing, so nothing done there touches live data. Switch back once done.
Testing on the live organization is possible, but the test registrations and claims created will remain, since there's no cleanup step.
Open the portal link in a private or incognito window, to see what a customer sees rather than the logged-in admin view.
1. Look up the order. Enter the order number and email. Does the order appear? Do the products show the names customers would recognize?
2. Register a product. Fill in the form as a customer would.
Read the coverage it shows. Is the term right? Is the expiry date what you'd tell a customer directly? Is the correct policy document attached?
If any of that is wrong, fix it in your coverage rules, not here — it's far easier to fix now than after volume has come through.
3. Check your email. The registration confirmation should have arrived. Read it as a customer would — sender name, coverage dates, and whether anything reads oddly.
4. File a claim. Describe a plausible problem and attach photos that look like a real defect, to see what the assessment makes of it.
5. Check your email again. The claim confirmation should be there, with a reference.
Go back to the admin. The test claim should be waiting.
6. Find it. Was it routed where expected? If it landed somewhere unexpected, that's a routing problem to fix in your workflow settings before real claims arrive.
7. Read what arrived with it. Coverage confirmation, photos, suggested defect category and resolution. Check whether the suggestion looks sensible for what was described.
8. Request information from the customer. Ask for something, check the email received as the customer, and reply to it. Confirm the reply appears on the claim in the admin.
This step tests a round trip and catches more problems than any other.
9. Assess the defect. Fill it in as if it were real. Note how long it takes — that figure, multiplied by claim volume, is what the process actually costs.
10. Make a decision. Approve it. Check the decision email that goes out, read as a customer.
11. Look at the timeline. Open the claim's history. Every step taken should be there, with a name and timestamp against it. This record is what gets relied on the first time a customer disputes something.
The happy path works. Now try the two cases that go wrong in real life:
Something that isn't covered. Register a product that was deliberately excluded, or one outside its term. The customer should be told clearly that it isn't covered, with a reason, not just stopped. Read the message — a customer hitting it is already annoyed.
A claim you reject. Walk another claim through to a rejection. Read the rejection email properly. If it doesn't say what should be said to a real customer, rewrite it in your claims workflow settings.
If tested in sandbox mode, there's nothing to clean up — switch back to live mode and the sandbox data stays on its own database branch.
If tested on the live organization, void the test registrations created so they're marked as test data — they'll still appear in reporting totals, broken out separately. Test claims have no equivalent option and remain in live claim history.
Note anything changed while testing. If a rule was adjusted, run the coverage audit once more before going live.
Next: Go live