Getting Started with warrantini
Warranty operations, finally solved. Here's everything you'll do to go from signup to a live customer portal.
- 01
Welcome to warrantini
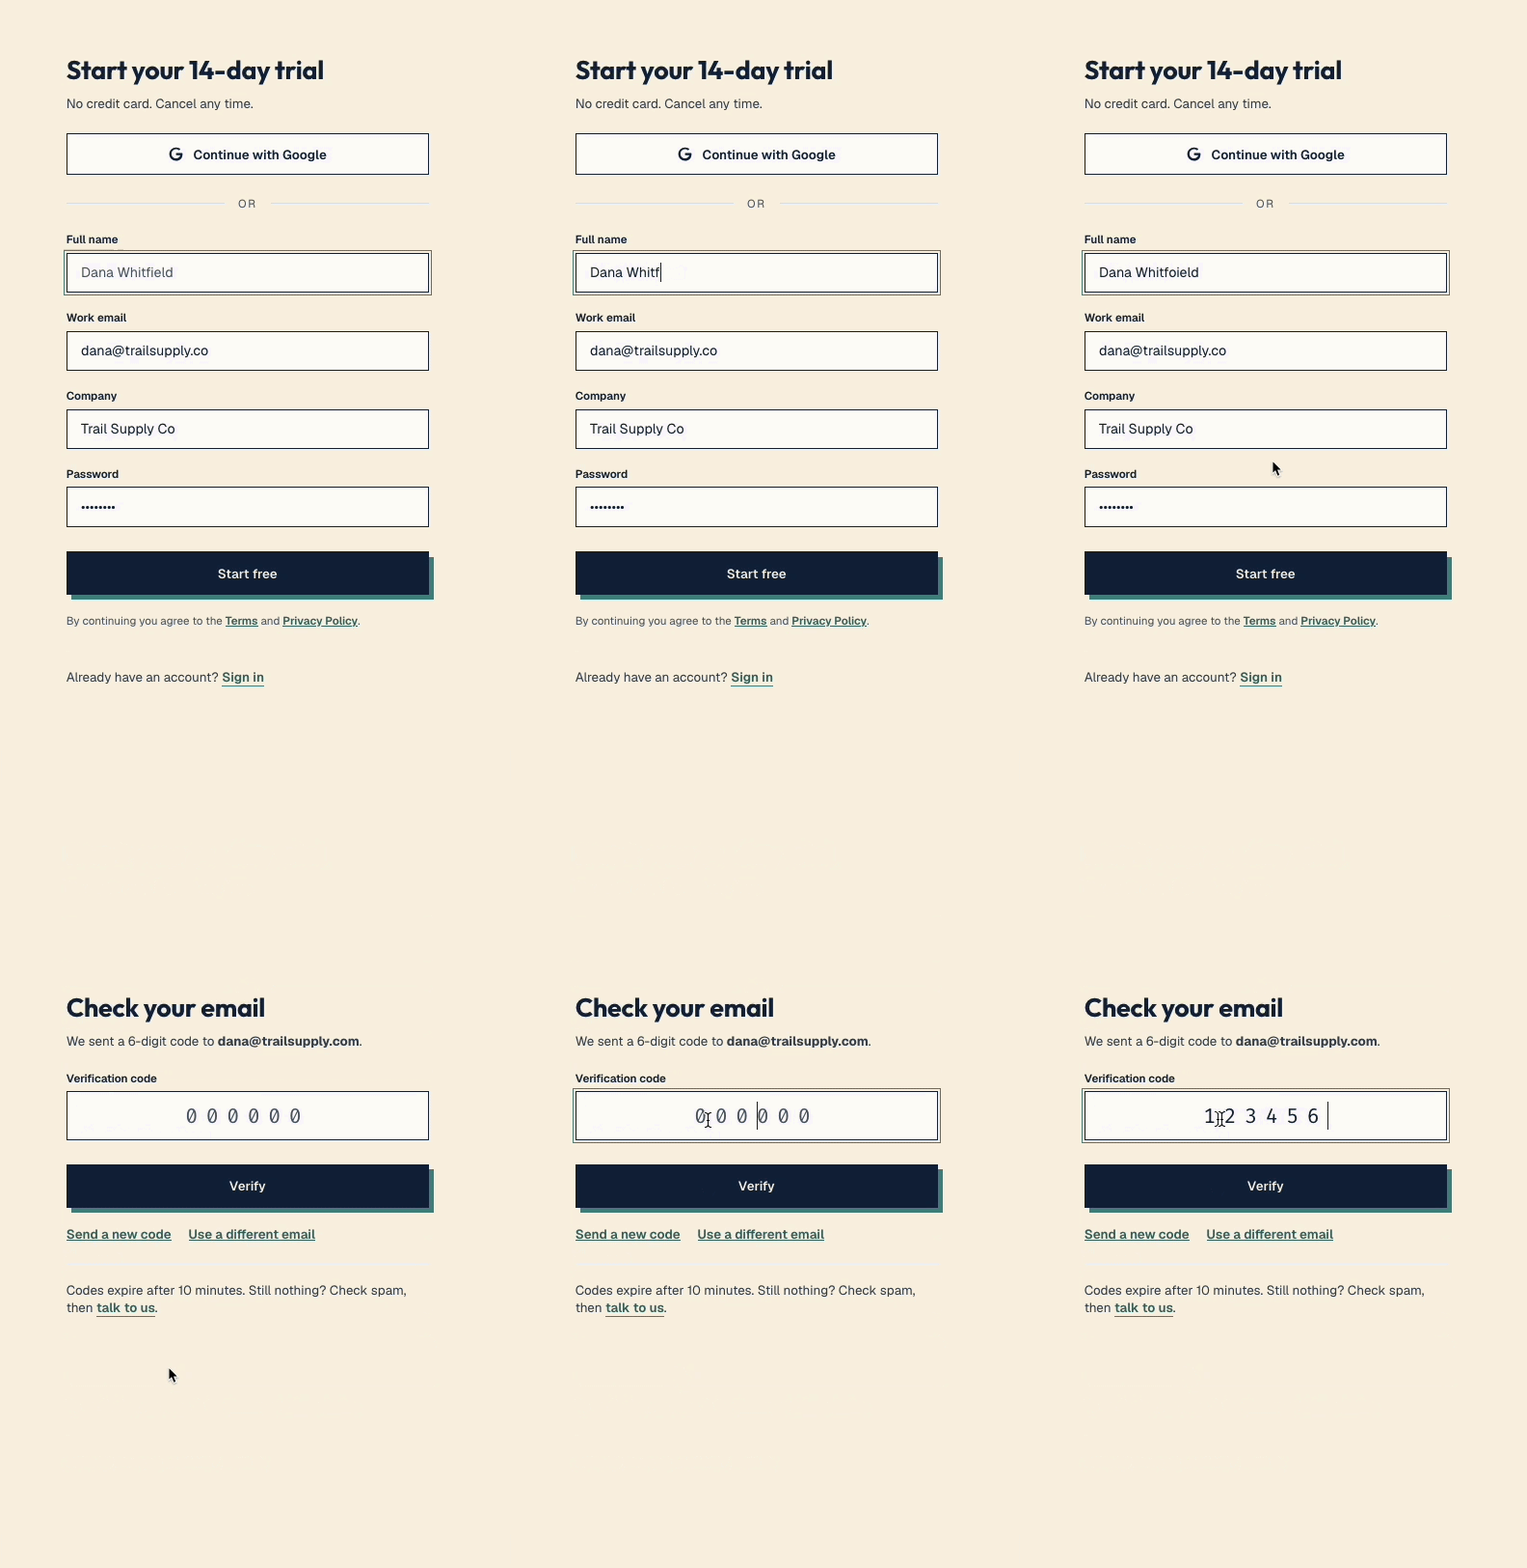
Sign up with your work email and choose a password — there's no six-digit code for your admin account (that's a separate mechanism used later in your customer portal). Then name your organization.
- 02
Choose your plan
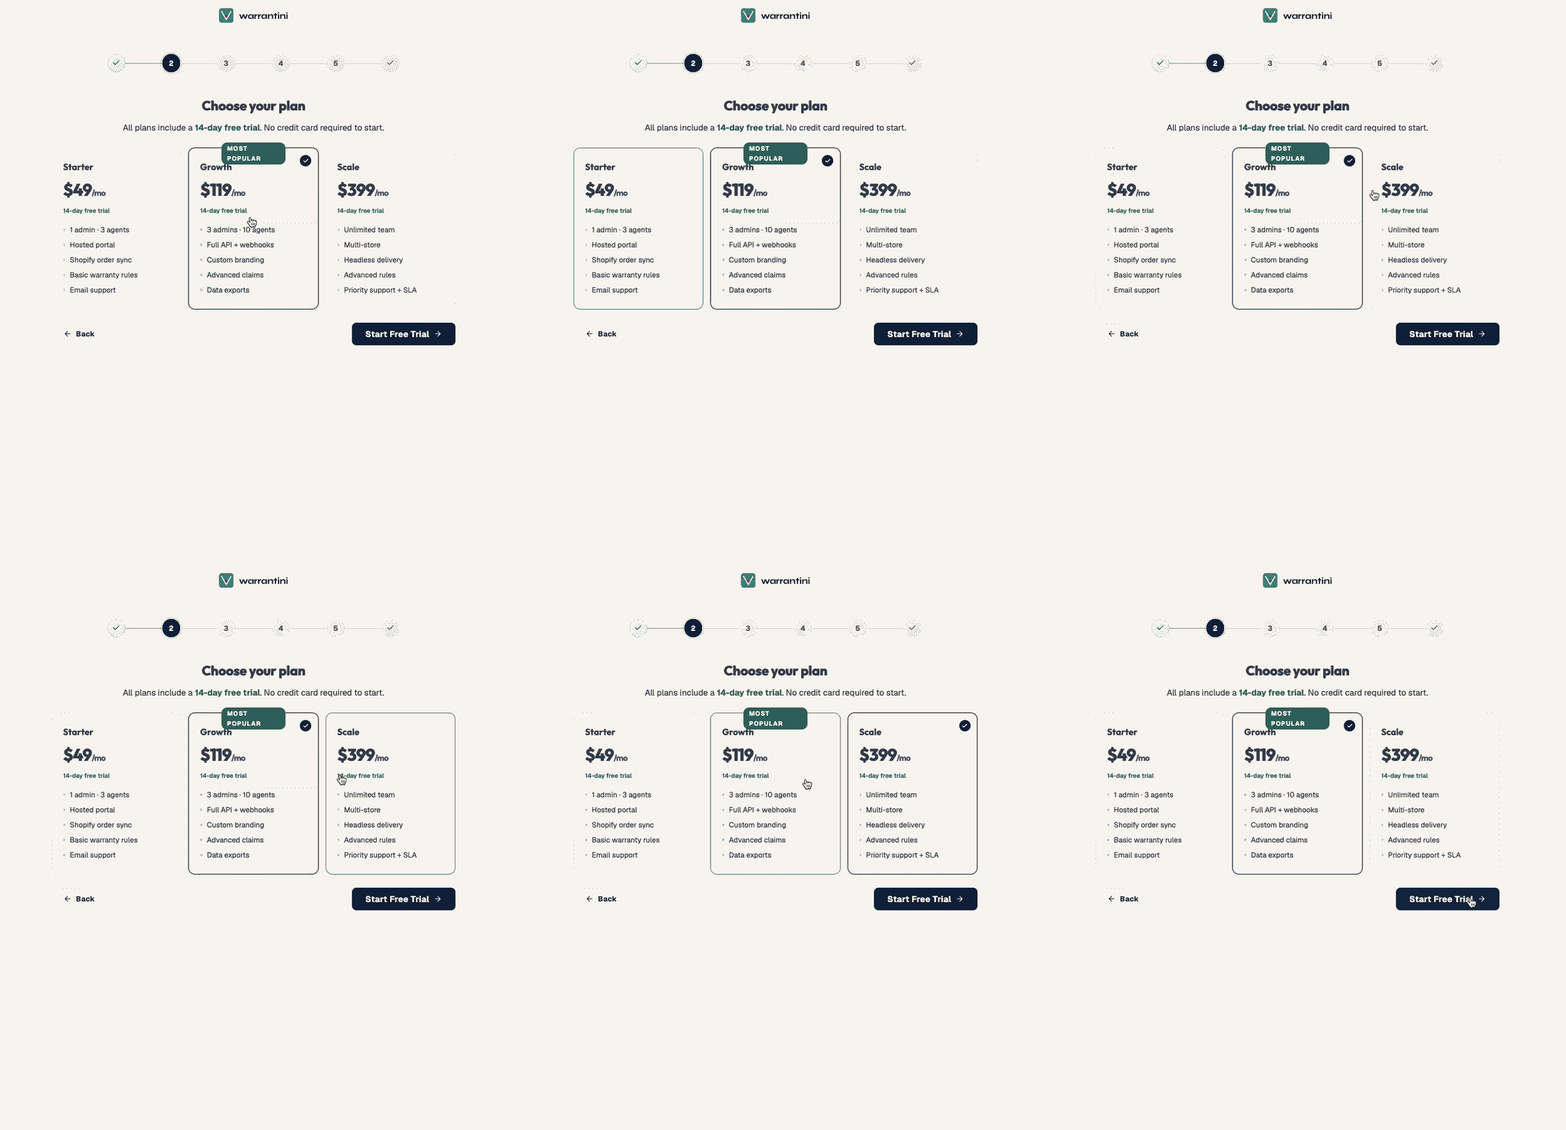
Pick the plan that fits your business: Starter, Growth, or Scale and start your 14-day free trial. You can change tiers anytime from Settings, so don't overthink it.
- 03
Connect your store
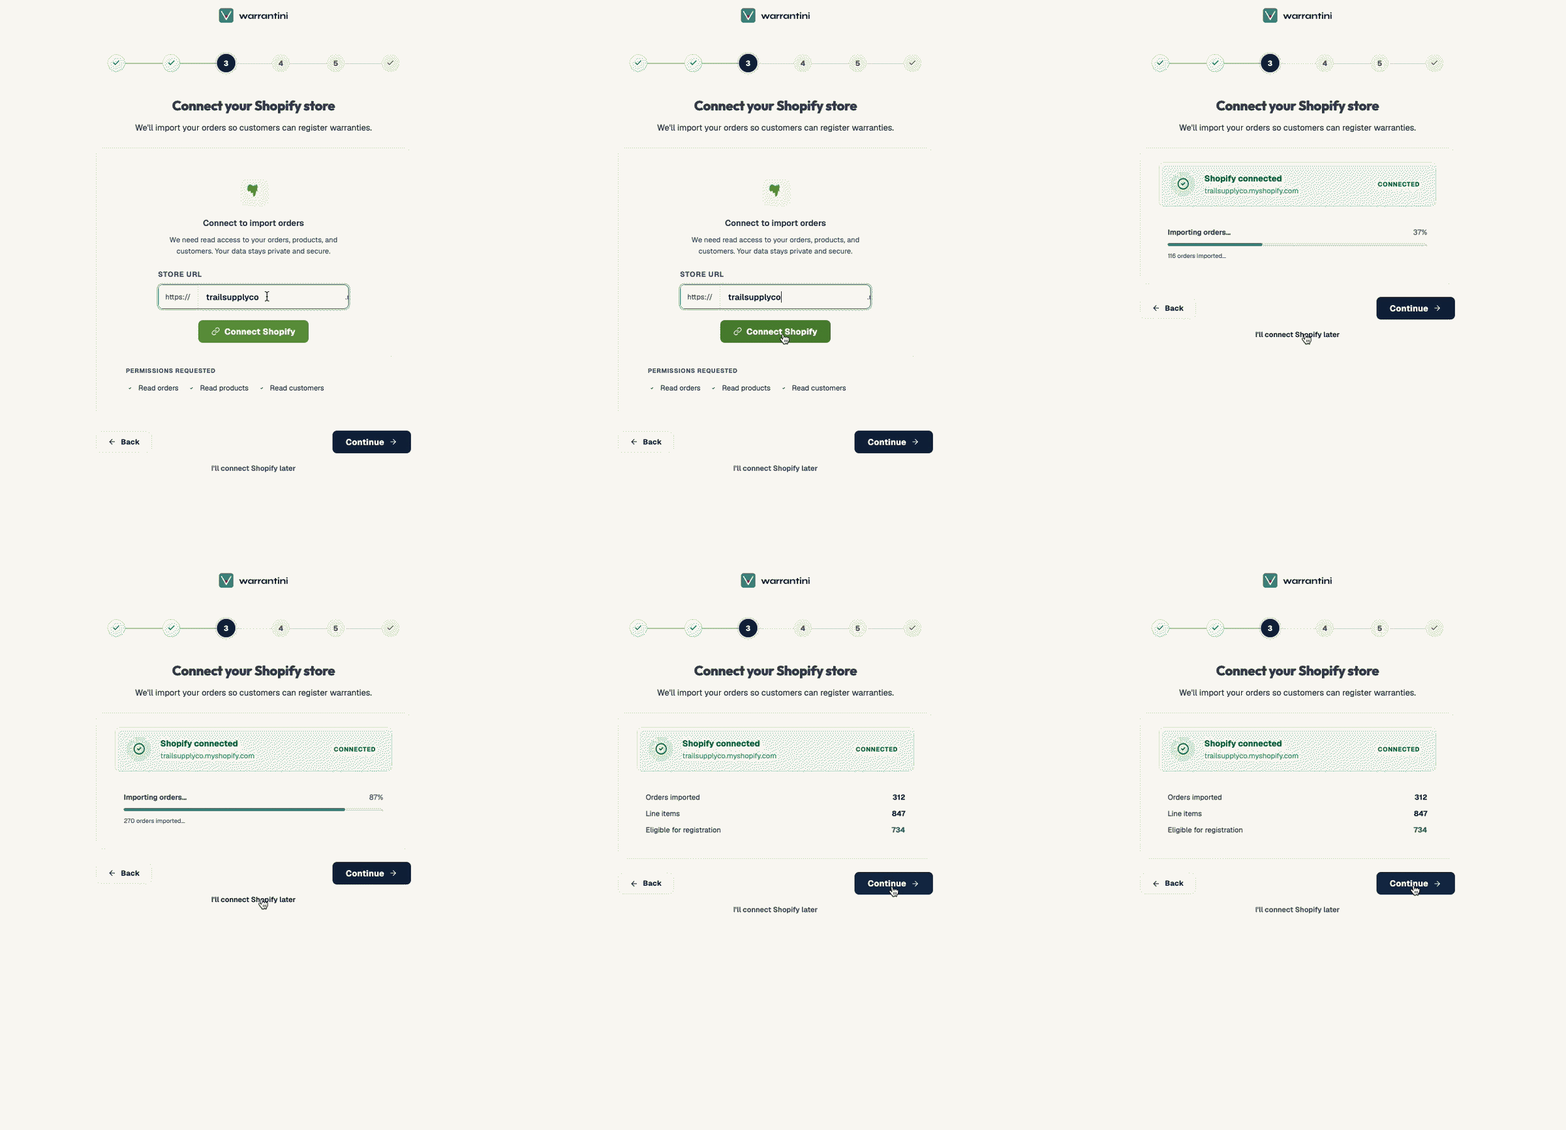
Choose how your product and order data gets in: connect Shopify or BigCommerce for automatic sync, or pick "Another platform" if you're on something else — you can add orders manually or connect your own system later. This won't block anything else here.
- 04
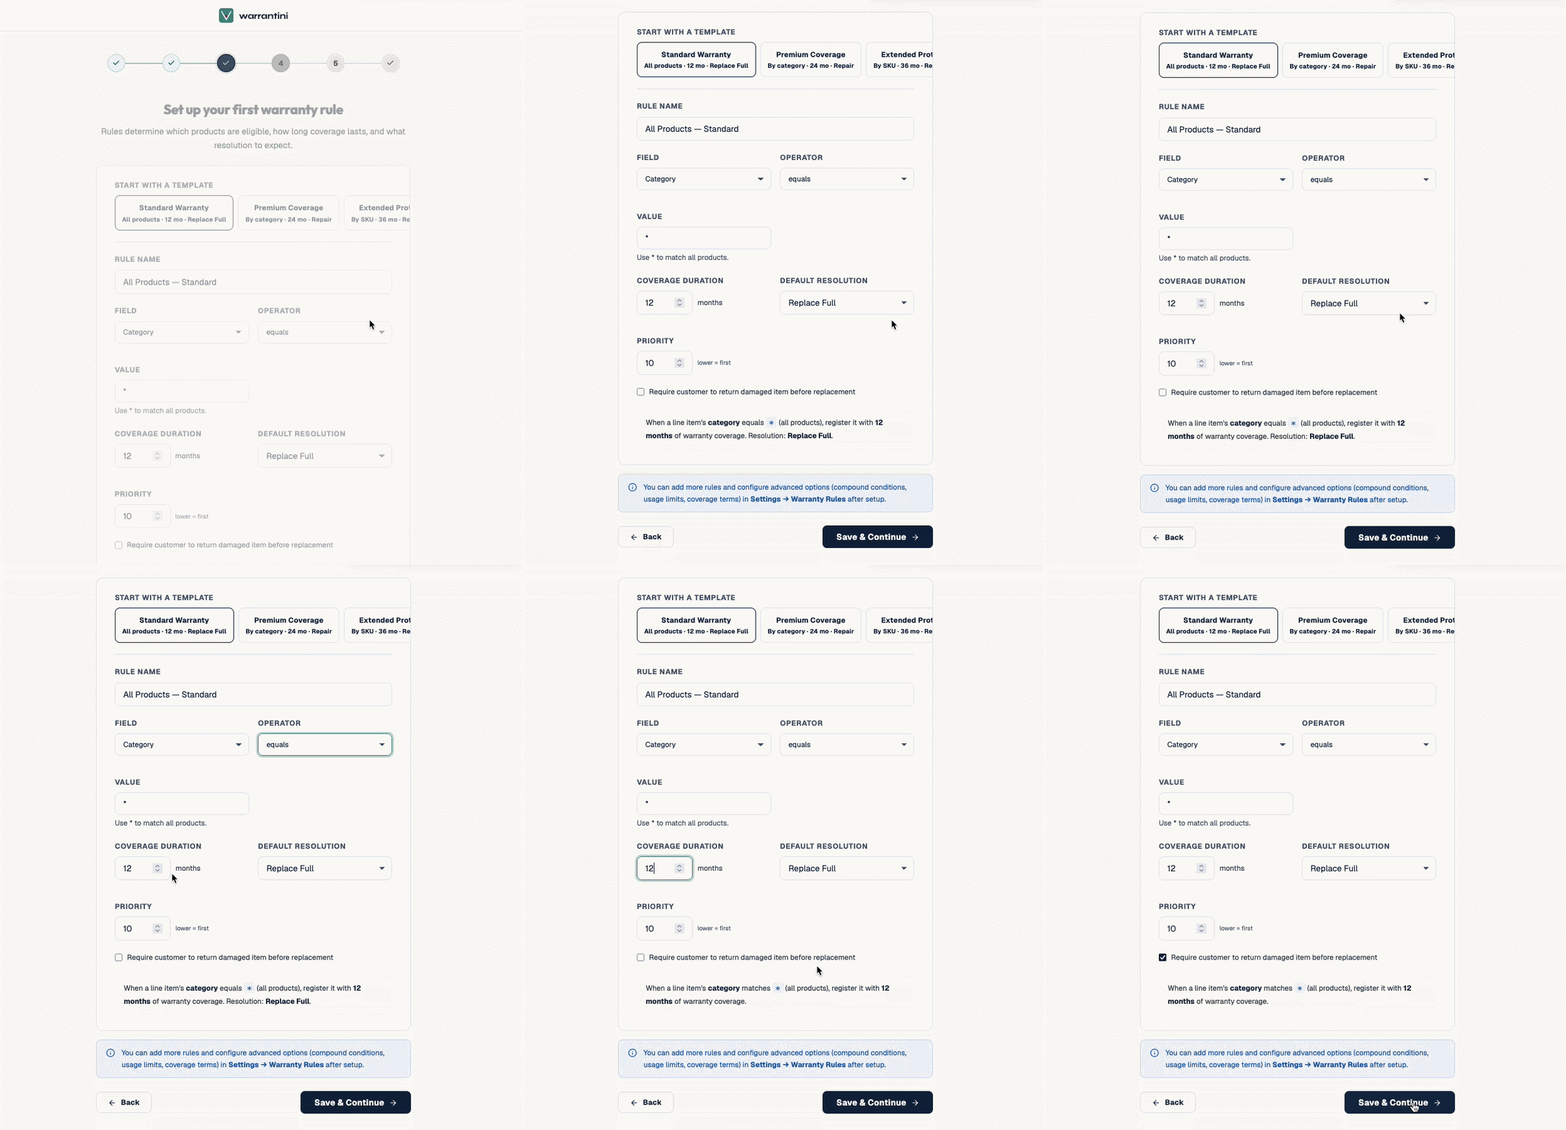
Set your first Warranty rule
This is where you tell warrantini what's covered and for how long. Pick a quick template or build your own by matching on product type, SKU, title, vendor, or category. You can add as many rules as you need later, too.
- 05
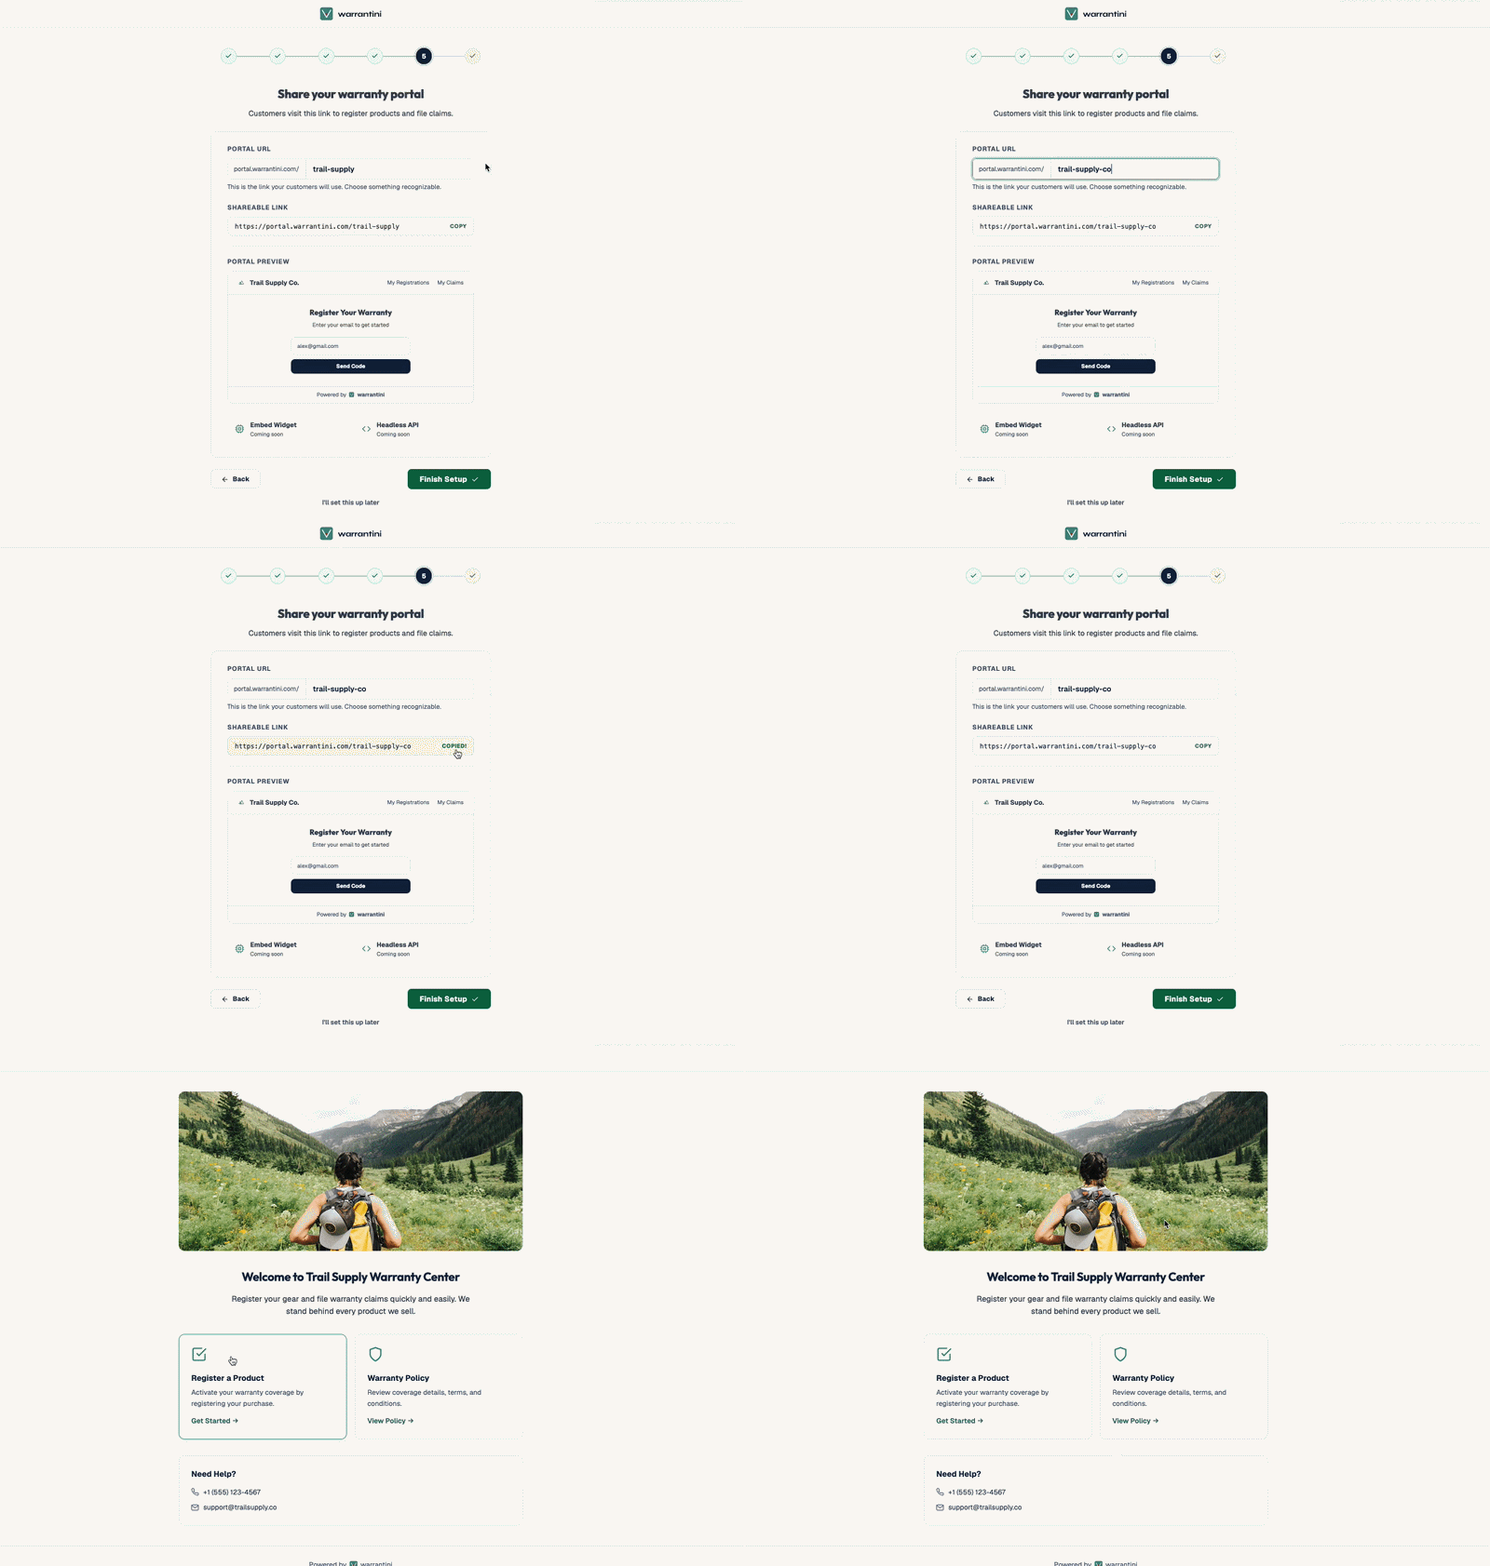
Your Warranty Portal is Live!
All that's left is to copy the link and drop it where you need it: order confirmation emails, your site footer, packaging inserts, etc You can customize its look, copy, and contact info anytime from Settings.
- 06
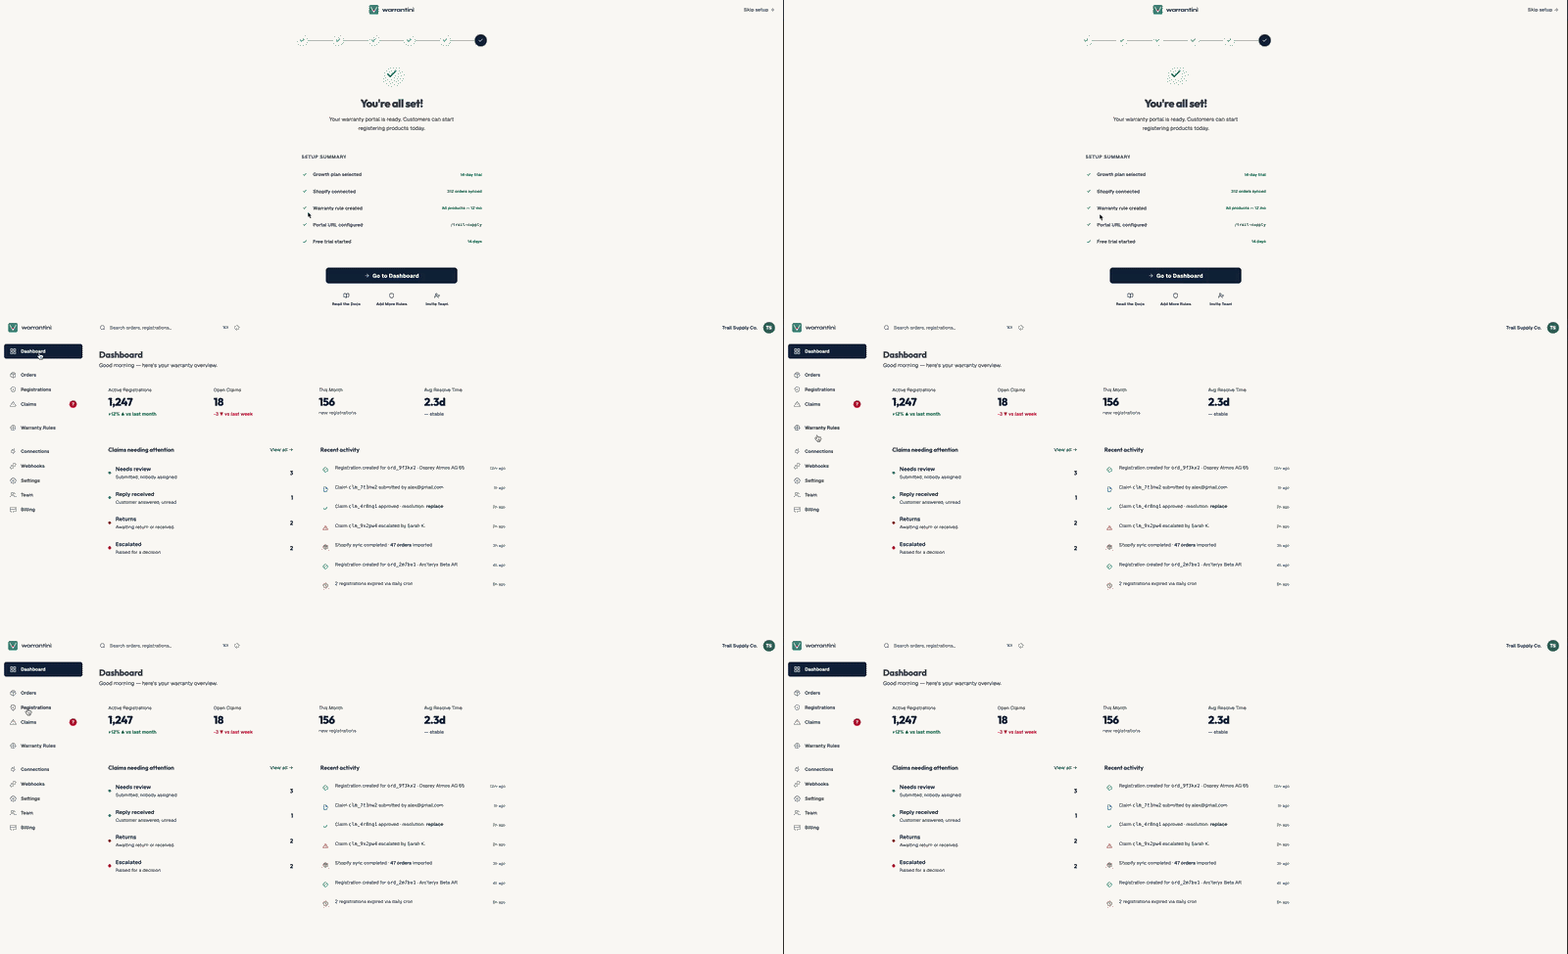
You're All Set!
Setup's done — your portal, warranty rules, and (if connected) store sync are all live. You can now access your dashboard and get familiar with warrantini's features.